Please note: The forum is now closed to new submissions. All the existing forum topics and posts are still available, however new topics cannot be created. If you need Sinclair C5 advice please use the C5 Owners Facebook Group.

Dan posted:

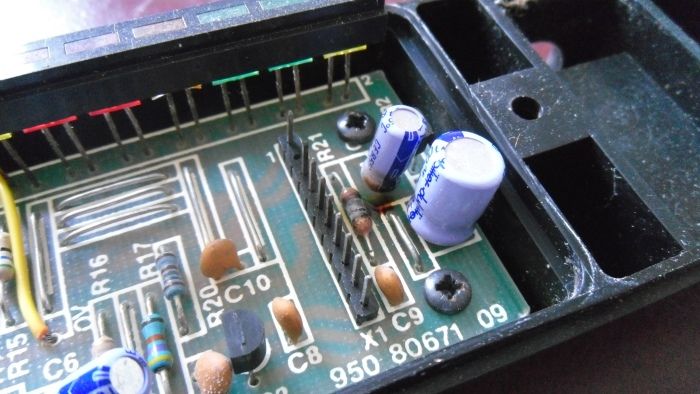
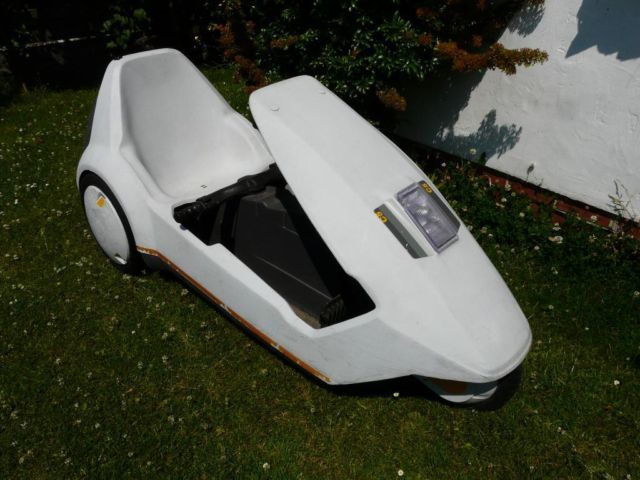
I haven't done one for a while so thought I'd post it here. It was a bit shabby but all the important pieces were there (hub caps, front wheel cover, original boot key). The only bad thing with it is the front light is badly chipped.

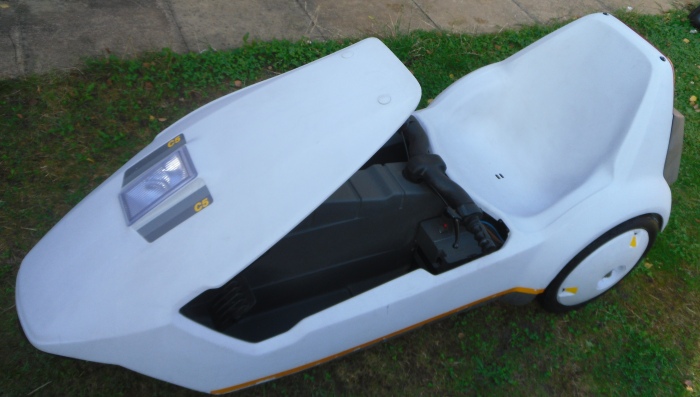
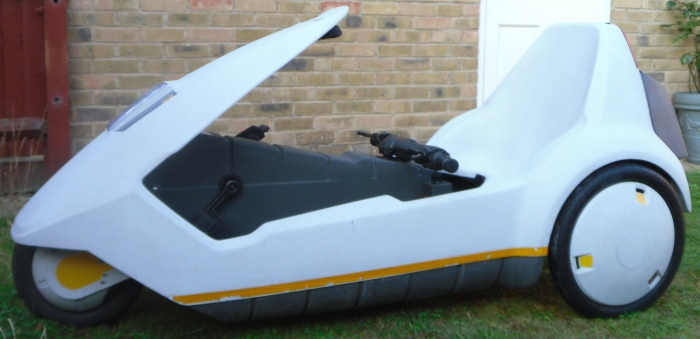
This is one of the first C5's off the production line with a serial number V100041200032:


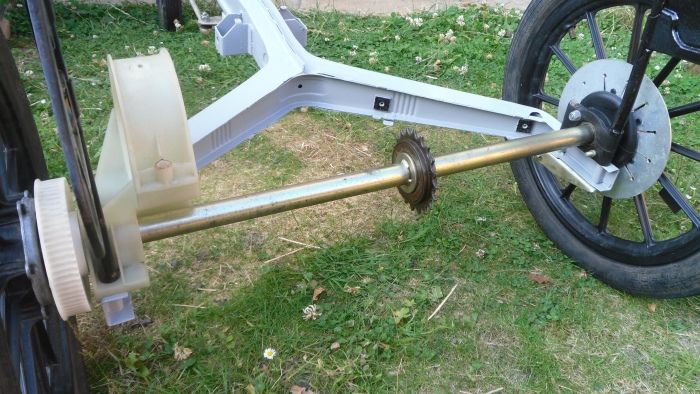
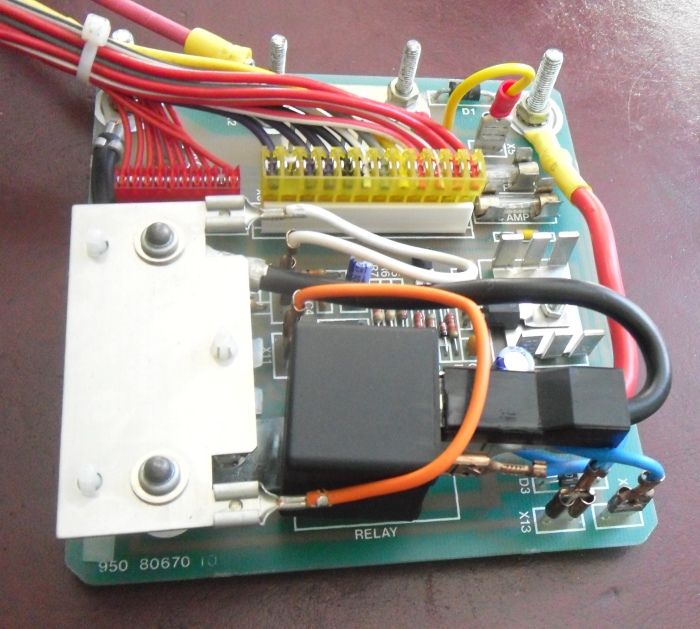
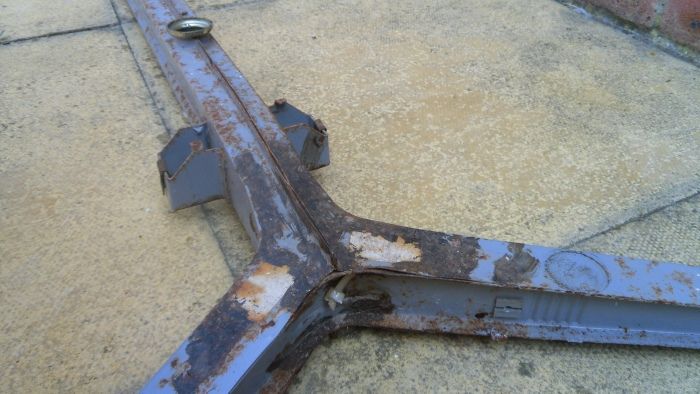
Have started with the chassis:


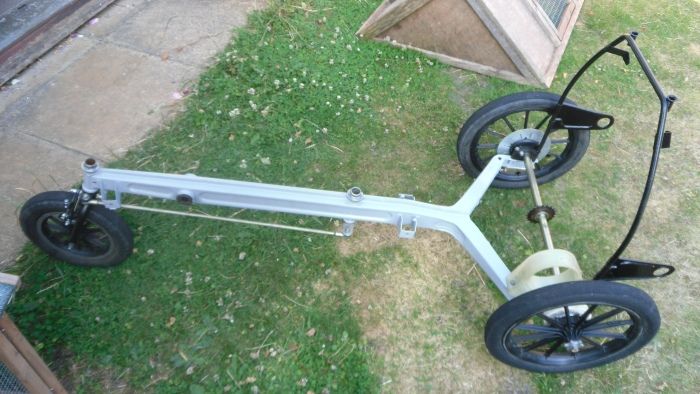
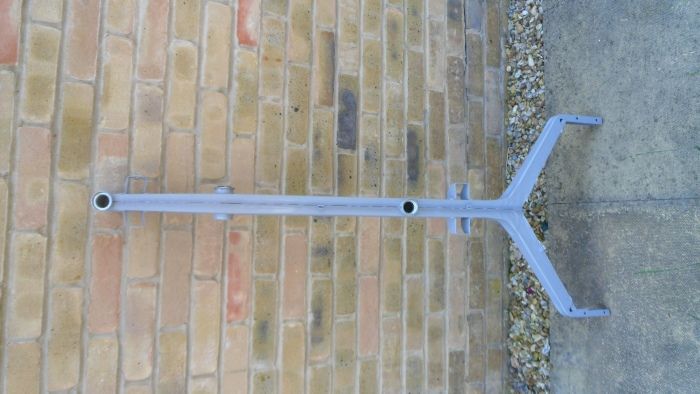
Having sanded it down and painted it with 2 coats of rust cure and 2 coats of light grey paint:

posted on: 19/07/2013 20:47:24

dave posted:

Replace the front light ? You going to put it on ebay ? The thing I've noticed in the last couple of weeks theirs. a few coming from devon area for sale and none up north near me lol after a rolling c5 no electrics good shell and frame rear wheels to make a c 5 trailer
posted on: 19/07/2013 21:04:19

Dan posted:

Replace the front light ? You going to put it on ebay ? The thing I've noticed in the last couple of weeks theirs. a few coming from devon area for sale and none up north near me lol after a rolling c5 no electrics good shell and frame rear wheels to make a c 5 trailer


Well I'll leave the light as is until I get a replacement and then stick the damaged one on the bay yeah.

Funny you say that as a couple of weeks ago they were all up north There's a couple in Devon, but are a bit expensive apart from one which is way too far even for me to go and get.

How would you make a trailer out of one? Chop it in half? or would you just be towing another C5
posted on: 20/07/2013 06:54:39

dave posted:

Just cut it in half
posted on: 20/07/2013 08:36:41

ad.328isport posted:

Looks like you've been busy Dan :-) can't wait to see the finished resto
posted on: 20/07/2013 10:42:42

Dan posted:

Done a bit more today. I've decided to keep the original Sinclair tyres as they're not cracked and look in good shape:


I made myself a wiring harness with a diode to protect from connecting the positive/negative to the battery incorrectly:


Connected the control box and pod to a battery to test them and, surprise surprise, they didn't work


After a bit of prodding with a multimeter it seems the control box regulator isn't working correctly, time to get one on order I think.

Next up is the POD, after opening it up it was pretty clear what was wrong with this:


R21 has burnt out and looks to have perhaps damaged a nearby capacitor:


Grabbed a couple of spares and soldered them in. The cap was probably fine but I replaced it anyway:

posted on: 20/07/2013 19:09:30

Paul posted:

Hi Dan, can you explain the wiring harness with diode protection in more detail?
Love the site by the way.
Paul.
posted on: 25/07/2013 20:16:35

Dan posted:

Hi Dan, can you explain the wiring harness with diode protection in more detail?
Love the site by the way.
Paul.


Hi Paul,

Welcome to the forum!

The diode (IN5401),which I added after I took the picture above, sits between the switch and the positive input on the relay and stops the control box components being damaged if you connect the battery the wrong way around.

If you've got a decent 12V relay, battery clamps and 70amp cable laying around it should be fairly straightforward to make one based on the picture above.

If you're looking for one pre-made, Chas sells his own harnesses on ebay which are great value for money and you even get a bracket with holes for 2 switched (Power & Lights).
posted on: 26/07/2013 07:32:59

Paul posted:

Thanks Dan,

It was the lack of the diode in the picture that was confusing me a bit, will have a go at making one once I've gathered the bits off eBay !

Also can the switch be replaced with an ignition type switch like the ones you fit, can you tell me where you buy them from?

Paul.
posted on: 26/07/2013 12:16:12

Dan posted:

Thanks Dan,

It was the lack of the diode in the picture that was confusing me a bit, will have a go at making one once I've gathered the bits off eBay !

Also can the switch be replaced with an ignition type switch like the ones you fit, can you tell me where you buy them from?

Paul.


Hi Paul,

Yeah I've updated the image below. I normally solder the diode to the wire and put the other end in the crimp terminal and heat shrink wrap the whole thing.

If you need help finding the relay/battery clamps on ebay there are links on the shop page (see the very top of this page). They are the best/lowest cost I could find, if you find better ones feel free to post links here.

As for the keyswitch, it was a while ago when I last bought one, but I think it was one of these.

posted on: 27/07/2013 13:45:45

Paul posted:

Hi Dan,

thanks for posting the updated picture. I had already found your shop which has been very usefull for a variety of things I needed....tyres...side strips....relay etc.
I'm glad you did post the picture because I thought the diode went on the 70 amp wire not the small switch wire!!!
posted on: 28/07/2013 18:19:22

Dan posted:

I managed to replace the LM342 regulator over the weekend and retested the control box and it fixed the voltage supply to the POD.  The only problem with it now is the relay seems to be dead, pressing the handlebar switch doesn't activate the relay  Back to ebay...
posted on: 29/07/2013 06:59:55

Dan posted:

Hi Dan,

thanks for posting the updated picture. I had already found your shop which has been very usefull for a variety of things I needed....tyres...side strips....relay etc.
I'm glad you did post the picture because I thought the diode went on the 70 amp wire not the small switch wire!!!


Hi Paul,

Glad you found the shop useful, I haven't added anything for a while but will try to add more stuff as I find it.
posted on: 29/07/2013 20:09:08

Dan posted:

I got the new relay yesterday and after replacing the original Red one, the control box now works perfectly:


After a bit of thinking I decided to remove the safety wiring harness and just use the original C5 battery cover/keyswitch assembly:


All I needed was a type 038 battery to fit the cover to correctly.
posted on: 01/08/2013 07:12:31