Looking good dan lot better than the first 1 no overhanging rtc
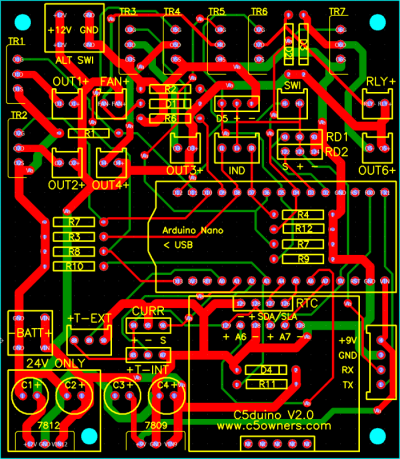
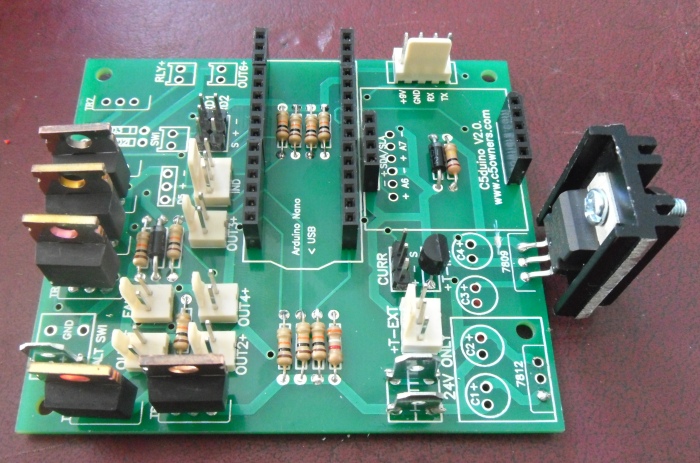
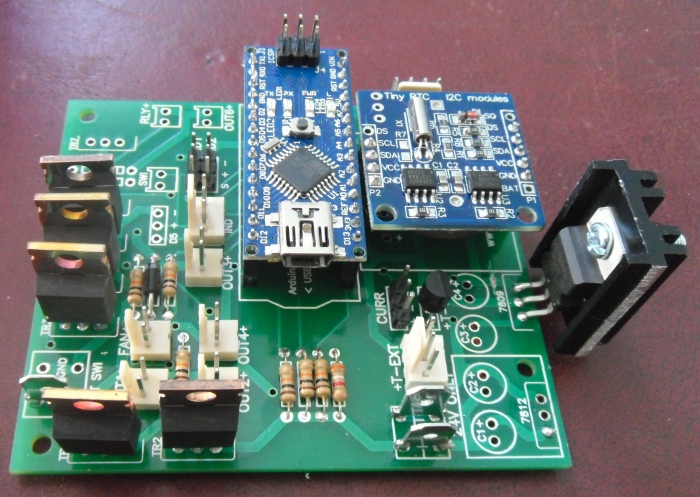
Yep improvements over the original board:
RTC sits firmly in its socket now, no overhanging.
Nano has plenty of space in front of it, so no more stacking it on double header sockets.
7809 Regulator is included
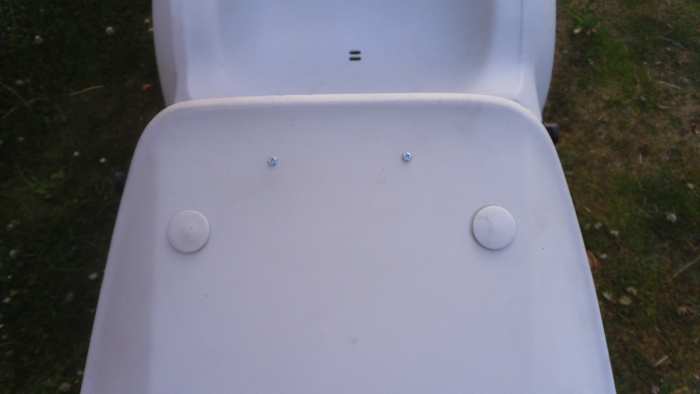
Holes for you to bolt the board down
And of course it can measure 24V!
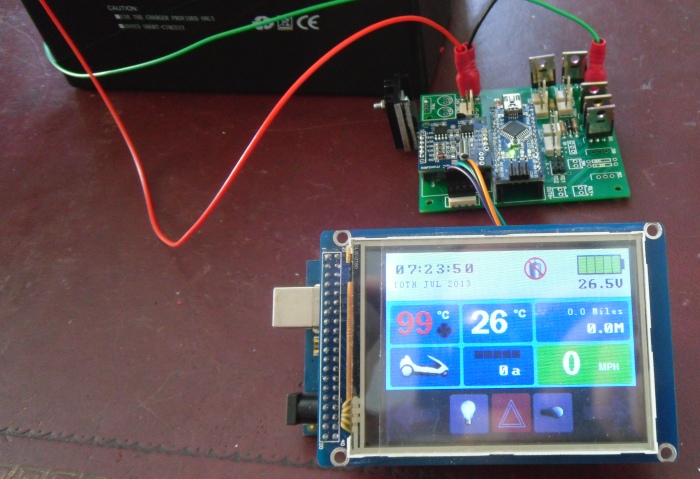
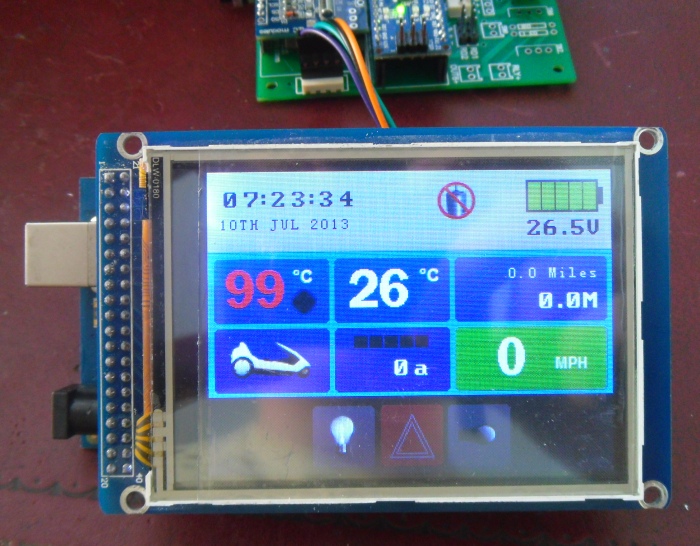
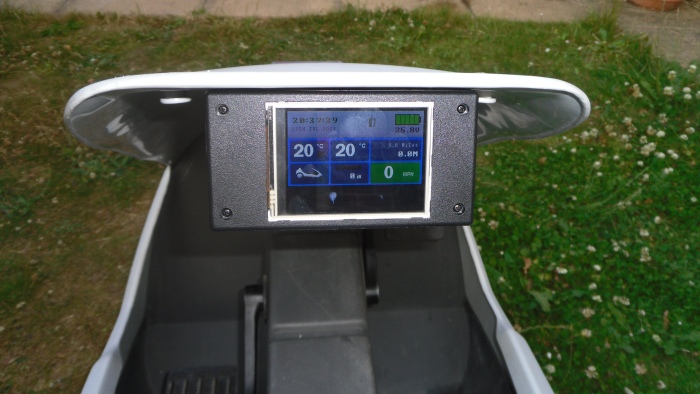
That's why you have been quiet I thought the board would be another 2 weeks how many have you had printed ? Love the 99 reading had that on my 12
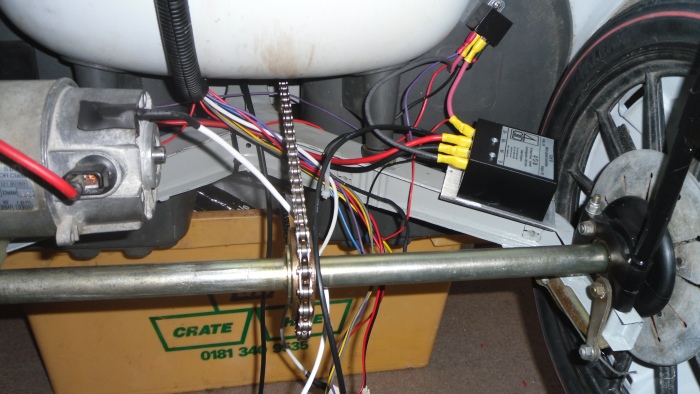
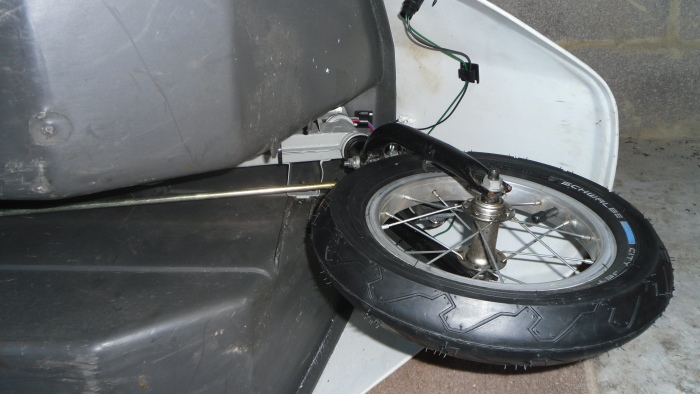
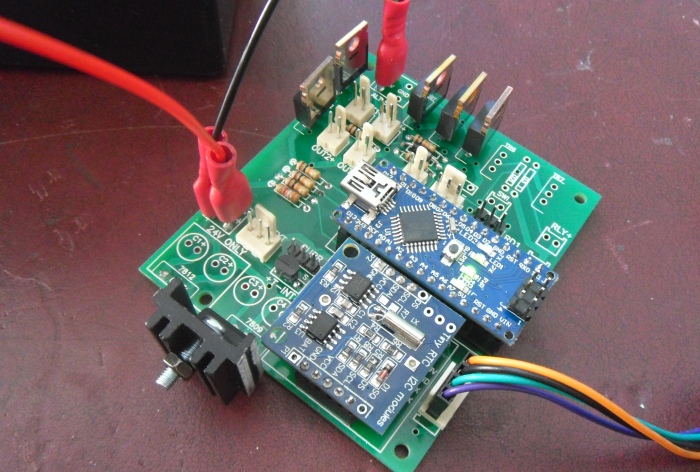
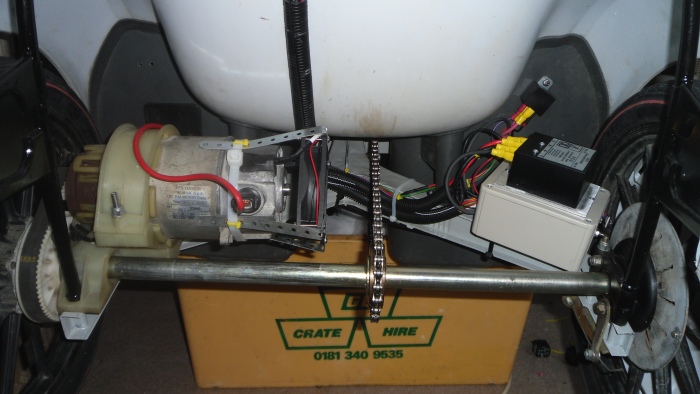
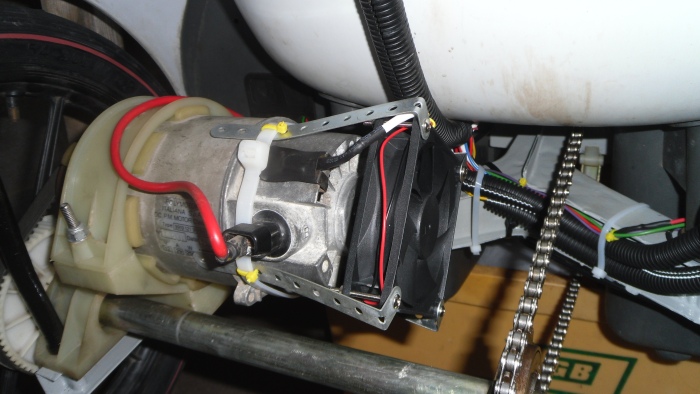
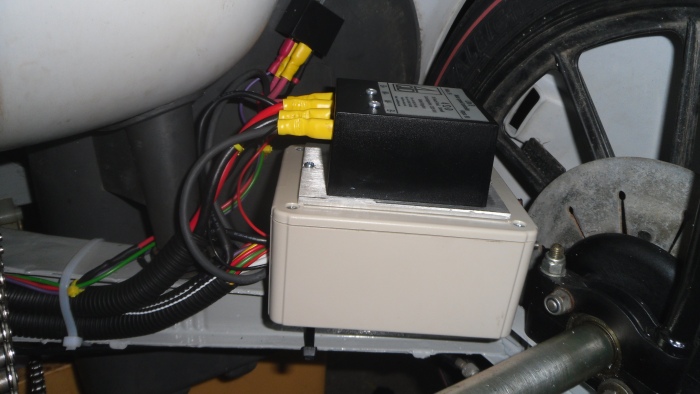
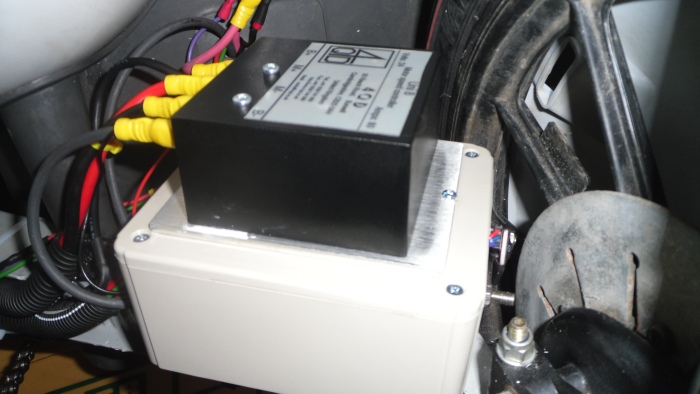
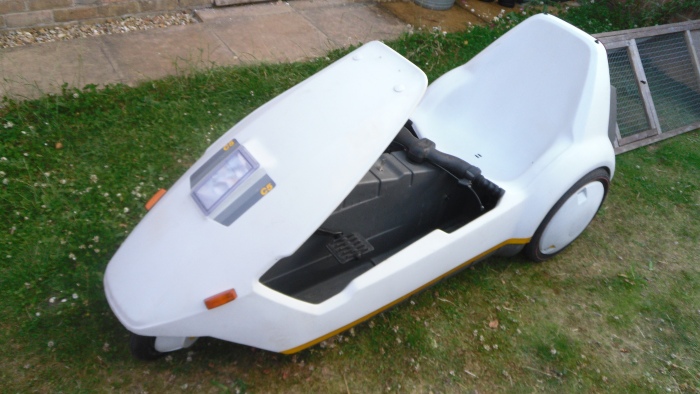
Well the boards turned up yesterday, for the last week or so I've been prepping the C5, sorting all the wiring etc.
I've had 10 printed, plenty for this project! And they can also be used in 12V C5's as well so I think I'll replace my older board with this one too. Makes the wiring neater etc.
Yeah the 99°C is the current temperature in Poole

. Well actually, as you've found out yourself, its because the motor temp sensor isn't connected.
posted on: 10/07/2013 12:46:46